
Ever wondered what AAA games have that yours not?
In this course you will learn how to create a complete Game Feature in Unreal Engine 5 using the Style of Genshin Impact.
This course is not about showing you one part of game development, is about showing you the complete picture.
You will learn Blueprints, Niagara, Materials, UI and how to make them work together to create an entire Game Feature.
UI is one of the most least overlooked topics on Game Development and almost all games have one. To make a great UI is all about User Experience and that can make the difference between someone liking or disliking your game.

Learn Blueprints
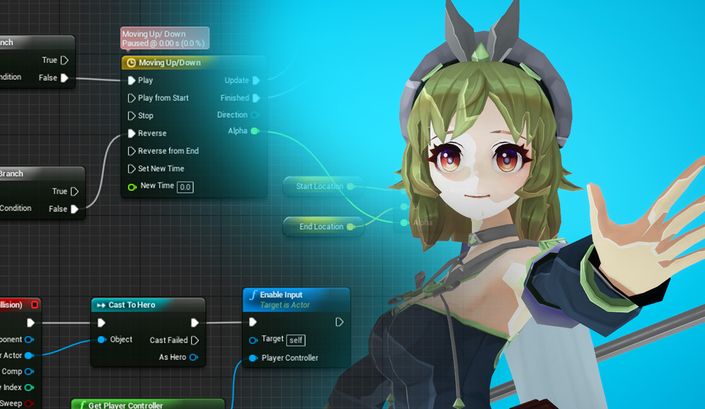
You will learn the best practices used by professionals in Game Dvevelopment to create Widgets and organize them to create any kind of UI. Not only that but you will learn Blueprint Communication and connect your Gameplay with the UI creating a great User Experience.

Learn Niagara and VFX
You will learn how to decorate your Menu using Niagara and learn Materials to create magical effects. Niagara is one of the most important features in Unreal Engine and learning it can give you a huge advantage to make your games stand out from the croud.

Learn to make UI Art
You will learn how to decorate your widgets using Photoshop to create nice and stylish themes for your UI and enhance the User Experience.
Bonus: AAA Anime Girl character
Value: $60.00 USD
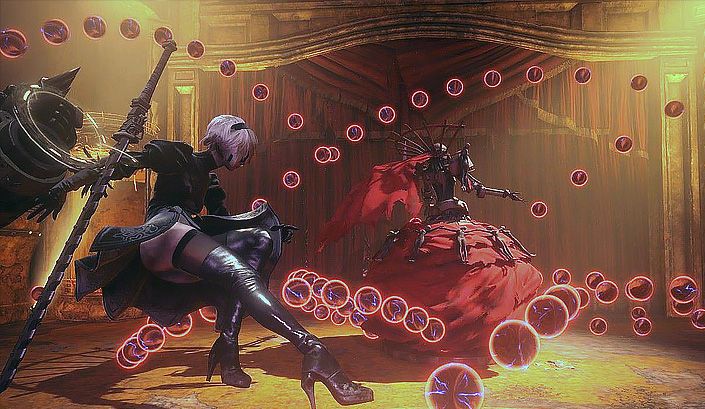
For the purchase of this tutorial you can get the first AAA Anime Girl character in the Unreal Engine Marketplace!
Crafted by the most talented people in the game industry, the first and only AAA anime character is now available for you to use!
- Handcrafted by AAA world class character artist
- Voice over in 3 different languages
- A Combat RPG System ready to use!
- High quality sound effects
- World class VFX particles
- And much MORE!

Course Content
- Orb element blueprint creation (9:20)
- Arranging the Orbs around the character (29:06)
- Attaching orbs to an actor to control their movement (10:37)
- Add Orb functionality: Clicking on them and sending information through event dispatchers (15:44)
- Add Orb functionality: Rotating the orbs to the selected one (10:19)
- Orbs: Idle rotation (4:49)
- Orbs: Handling the idle rotation state (8:16)
- Restructoring the functionality to containt complex behavior: Creating the Orb Container class (39:48)
- Orb selection working properly (33:45)
- Creating the sub menu, and opening it through the orbs selection (37:19)
- Background VFX Intro (0:57)
- Making the Cloud Texture and Mesh (9:45)
- Making the Background Material (5:58)
- Making the Colored Cloud (7:45)
- Making the Mesh UVs (10:48)
- Making the Front Cloud Material (20:46)
- Fixes & Making the Star Texture (14:56)
- Star Material & Emitter (17:24)
- Last touches on the Background (21:20)
- Making the Ring Texture and Material (14:36)
- Ring noise and Material (11:07)
- Implementing Glow to the Niagara System (6:37)
- Ring Spawn Texture & Material (9:07)
- Making the Flare Texture (16:29)
- Flare Emitter (10:41)
- Making the Flare Stars (19:04)
- Analizing our reference for Styling the Buttons (6:08)
- Blocking out our Button (12:42)
- Creating the Button Masks (9:32)
- Animating the arrow (12:21)
- Changing the Text Style (9:45)
- Button Opacity tweaks (3:46)
- Creating the Portrait Textures (10:32)
- Creating the Avatar Material (14:14)
- Creating the Avatar Button (9:46)
- Creating the Avatar Hover Texture (10:33)
- Adding the Hover Button State for Avatars (8:29)
- Changing the Font for Character Menu (7:02)
- Creating the Exit Button Texture (11:04)
- Creating the Exit Button Widget (7:34)
- Adding the Shadow to the Exit Button (1:09)
- Switch Button creation (9:31)
- Creating the Menu Symbol Texture (13:46)
- Menu Symbol Widget (11:26)
- Creating the Extra Menu Button (6:07)
- Extra Menu Widget (7:57)
- Creating the Item Button Texture mask (10:54)
- Testing the First version of the Item color (6:20)
- Painting Icons with fundamentals (25:27)
- Refining the icon values (23:08)
- Coloring our Icon (13:29)
- Importing our UI texture (6:18)
- Creating the Item Widget (7:57)
- Fixing our Widget size (8:08)
- Adding Text to the Item (8:12)
- Using Grid Canvas to organize elements (12:55)
- Polishing the Avatar Background Texture (6:40)
- Creating the avatar image for items (4:08)
- Creating the Star Texture (5:56)
- Changing the Item Widget size (3:59)
- Importing High resolution Item Texture (2:02)
- Adding our Widget to the Orb Blueprint (2:52)
- Fixing the Orb Icon Rotation (2:18)
- Start the polish pass (0:44)
- Removing the orbs debug number (1:47)
- Adding the Anime Girl Character (9:45)
- Fixing the lightning for the menu (3:14)
- Added return to main menu button logic and fixed menu bug hidding the artifacts list (6:08)
- Added menu states for a smoother experience (15:34)
- Polishing the camera after returning from the menu (3:15)

Ramanand Purizaga
Ram is an Unreal Authorized Instructor by Epic Games. His passion is a mix between coding, gaming and Unreal Engine, where he has spent the last 9 years of his live to master this craft. He has worked on both big titles and Indie games.

Andrei Platzer
Andrei is a professional VFX artist working in the video game industry. He started using Unreal Engine 3 in 2012 and is currently working on Sonus Requiem, a Tactical RPG game made in Unreal Engine 5. He is your guy when it comes to making VFX that has the fantasy style.

Mauriccio Torres
Mao is a professional 3D artist for video games who has worked on Ubisoft where he contributed to titles like Skull and Bones and Immortal Fenyx Rising - Myths of the Eastern Realm. He is also an Unreal Authorized Instructor for Epic Games.
Check our other courses
Take a look at other amazing tutorials we got!

